Showing posts with label DIY. Show all posts

Wednesday, 25 June 2014

DIY: Cast Iron Bird Door stop painted Gold.

When we moved to this house, we had a problem, none of the doors could stay open! 
Therefore we had to buy door stops! My partner didn't care about style, so he bought some IKEA door stops for his office's door and for our bedroom's door. But I wasn't going to compromise for my studio's door and I had to find the best door stop!

In the begging I wanted to buy one of these:

skull                                                                                              bird

But after that I wanted to buy Mulberry's door stop

http://www.amara.com/products/allegro-plaid-door-stop?utm_source=google&utm_medium=cpc&amss=1fb&pdg=68126790_3052186950_33591105030_c&gclid=CjkKEQjww6SdBRDls9vxsf7EoM0BEiQART_xPrsFB3hSciVL8g36XTrS1Wal-KPfC1ViPzjwQ95QJYLw_wcB
The problem with mulberry's door stop is that we have high humidity in the house and I was afraid that the fabric of this door stop would gather all the humidity and it would be smelly after a while.

So I had to find something else, and I found it in a Home Bargains store! 
It was a Cast Iron Bird, which was ugly but had potentials...

So here it is! 
(The "before" photo is from web, I forgot to take a photo of my door stop before I painted it, but they are almost the same)


I painted gold and the after it's much better than the before..

Hope you like it.

Andy
xx

Thursday, 12 June 2014

DIY: An easy project to change something you don't like.

For a long time I was searching for something to put inside lighters, and place it on the coffee table. I didn't really knew what I wanted, you know I was looking around the shops every time to see something eye catching! and after a long long time I found it at Debenhams!

 here it IS!!!

I loved it and I bought it! BUT after I went home I realized that something was missing. It was beautiful I it was, but not exactly perfect. So i decided to painted gold.


So i took the lift top lid and cover it with masking take, I left the deer uncovered. I had bought a gold spray from B&Q, from some other projects (which I will post about them) and sprayed the deer with the paint!


and voila! 


                                                 Before                                        After

Really the after is much, much better. With this little touch, it changed completely and I love it even more! hope you like it...

Andy

Friday, 6 June 2014

DIY: Concrete - candle holders!

Do you remember my previous DIY project that I did almost 2 years ago: "Pringles -> Pencil holders"? If you don't remember it, you can see it here.
So this year I decided that I didn't really like the pencil holders anymore, so I thought to do something with them, when my father sent me a small bag of white concrete the idea hit me on my head!

1. I took my pencil holders.


2. My concrete was white, but I wanted grey, so I took water and I mixed some Windsor and Newton Galeria  black Acrylic Paint.

3.After that I mixed the water  with my white concrete. I didn't have specific proportions, my father told me that I had to create a smoothy - velvet mix. So I did. He also told me that if I add too much water then my concrete will need more time to dry.

4. Since my mix was ready, I filled with it my pencil holders.
  • I didn't fill it to the top, cause I wanted different sizes.
5. Then I needed to create a dent so my  tealigtht candles could fit.
  • To do that, I used plastic glasses and put rocks in it.
6. after 24 hours my concrete candle holders were ready!
  • I cut the cast  (pencil hondler), and removed the rocks with the plastic glass.


I wanted them to have an industrial look so I thought to leave them as they were Maybe in the future I could paint geometrical shapes on them. but we will see! Hope you like it, and of course you can use any kind of cast you want, and any colour you like!


Best
Andy

Friday, 10 May 2013

IKEA: What i hate about it....

Ok, the truth is that i love IKEA BUT i don't love everything... One of the things that i love about IKEA is that you can change products the way you want, or you can use them in different ways.
I can understand that it's a big international corporation and they care only about money and not about your wallet....But that doesn't excuse their strategy...
What i mean....
Every year around August they release their new catalogue, with many new products, new prices and also sometimes they remove some of the old products...
Like for example the Benjamin stool, which was a perfect DIY product.
But NO, they had to remove it...

But still i can understand that, they have to change their catalogue...
Fashion is changing so they have to change too, and add more modern and contemporary products...
But i got really angry when i saw what they did  and i'll explain...

I wanted to buy a carpet-rug for the new house and of course my first choice was IKEA.
I looked the site and then i decided to look for DIY rug projects and then i found IT a wonderful DIY rug!
I was so excited, and in love with the project.
BUT after i tried to find the product with no luck i was angry and disappointed.... They had remove the rug BUT they add a new rug exactly the same with the DIY rug!
And then i got furious about the price....

The DIY rug was the Ikea Erslev rug 20$ (i couldn't find the price in gbp sorry)
 Before
and 
the after
Source

Source

Also ikeahakcers tutorial here and here

So the above rug isn't available anymore  but instead you can buy the new IKEA Stockholm rug
for 160£ only.
And i'm thinking "ARE YOU FUCKING KIDDING ME?", "ARE THEY SERIOUS?'...
So yeah i'm still angry about that rug, i'm not going to buy any rug from IKEA....
They take advantage of us and from our money...

That's why i don't like IKEA so much, yes, they have beautiful and cheap product (i'm not going to say anything about quality) but their strategy still disgusts me....

Andy
xx

THIS BLOG claims no credit for any images posted on this post. Images on this post are copyright to its respectful owners. If there is an image appearing on this blog that belongs to you and do not wish for it appear on this site, please comment  to said image and it will be promptly removed.

Saturday, 4 May 2013

DIY: Portfolio Projects

Here I'll show you the projects i did for my portfolio and also they are nice decorative items...

i used self hardened clay for the heads.


Wire, led lamps, battery,  clay, soldering iron for  the two eye-lamps.


wire, watercolour, soft transparent folder, and a rotating base
 For this project i used some wooden kebab sticks and clay.
I thought that it could be a very nice necklace or ring hanger.
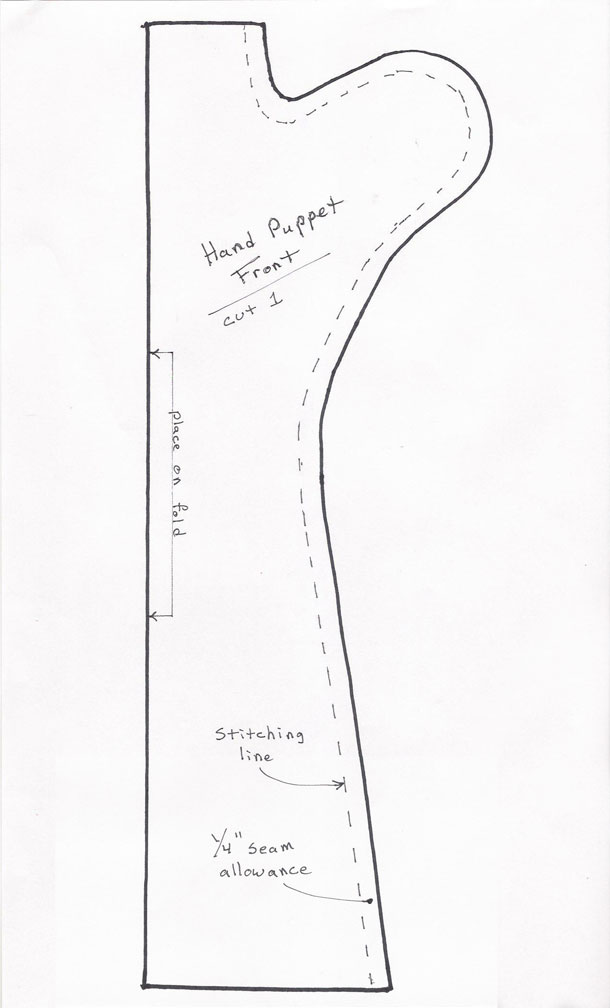
and in the end my puppets, i used a dark green scarf, newspaper to fill the heads, acrylic paint, paper tape and patterns. (i don't remember where i found the patterns if someone knows the site plz let me know to add the source)


My dear friend Mary (onirocosmos)did this beautiful little thing that i asked her 
with resin and my hair.

and now you know what i was doing all those months, plus a lot of drawings of course....

Andy
xx

DIY: Empty plastic bottles to necklace

I used only one plastic bottle

and i cut it to 9 triangles, i opened holes with my soldering iron

i painted (with enamel paint) 2-3 times.

and voila!

hope you like it!

Andy
xx

Tuesday, 14 August 2012

DIY: Pringles can into a pencil holder

A very easy project!
I was need some pencil holders for my pencils, brushes, rulers etc...
i have some pringles cans and the an idea hit me, so i took action!
We cut the can in the middle or in whatever size we want...
after that we choose the decoration. 
i choose a magazine, but u can use glitter, fabric, watercolours, anything you like!
i don't like cosmo (i'm vogue lover:P) so i dint care to destroy it. 
next you have to search for a photo you like. 
if you want to make a cosmetic holder, you can use something like that.
i like fashion, that why i wanted to use some outfits.
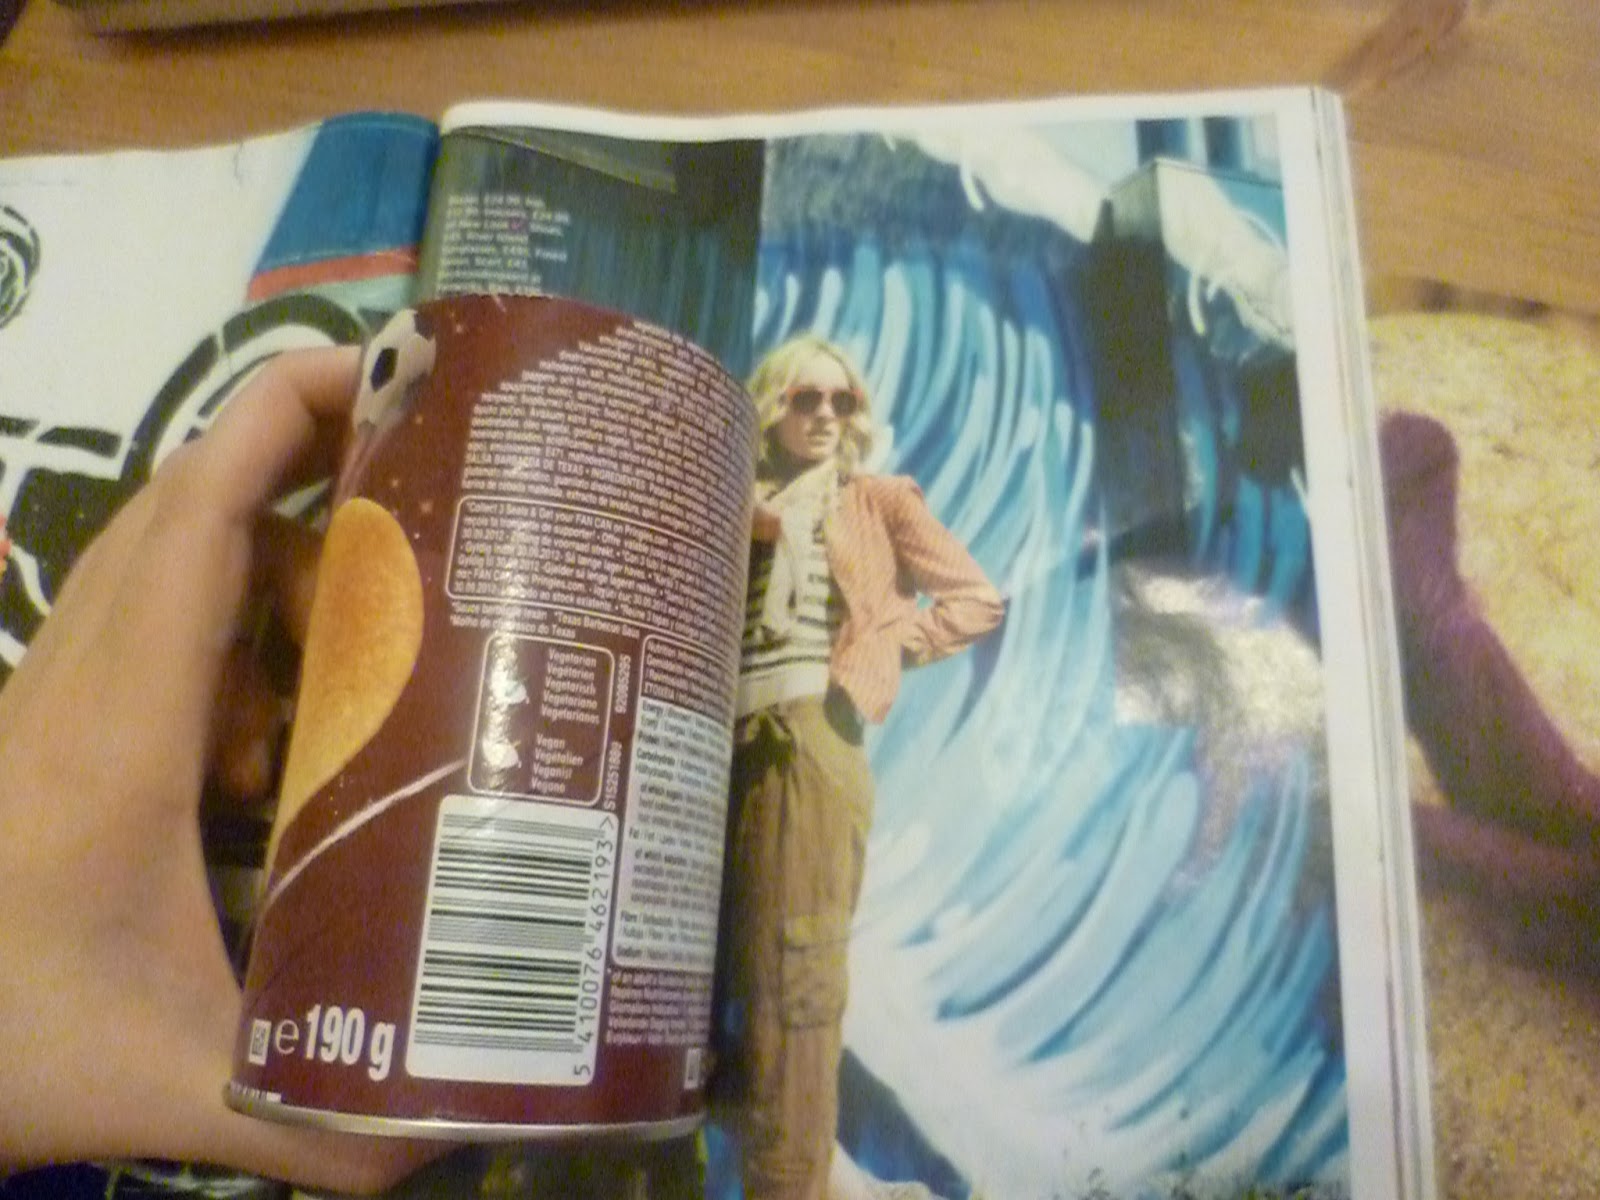
I don't want heads, so i'm trying to see how it looks like 
i place the can behind the page, i didn't like this photo so i'm moving to next.
and yes i like this!
i'm cutting the page
here i want to see where exactly i'll cut the page, as i said i don't want the head.


 now i'll cut whatever is out of the can.

 and it's almost ready.
 i cut the margin
 and i glue the behind of my photo
 voila
 but as you can see the page doesn't fit exactly, so i need to use the remaning of the page to fill it

and it's ready!
hope you like it....
happy diy!